


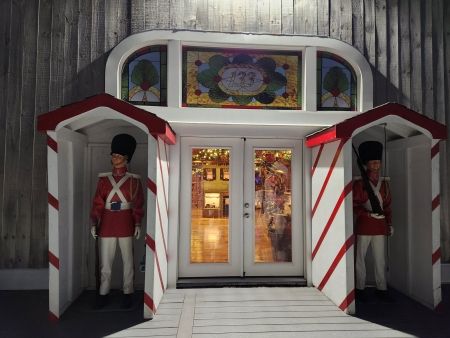
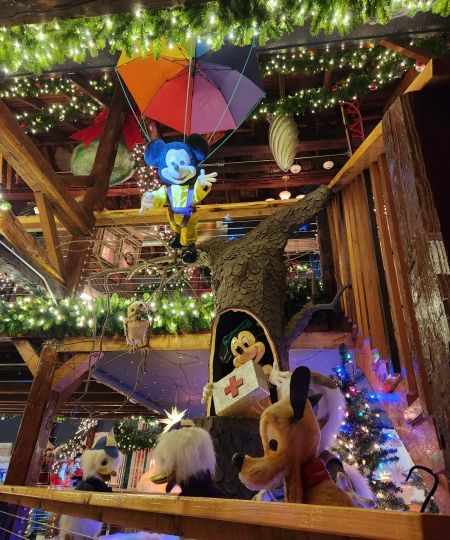
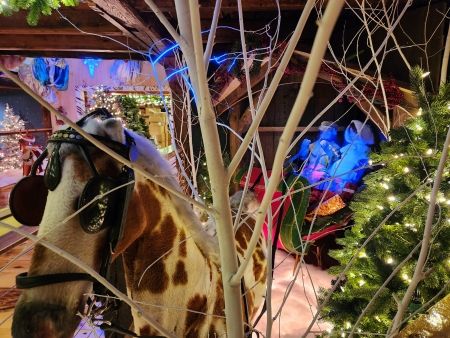
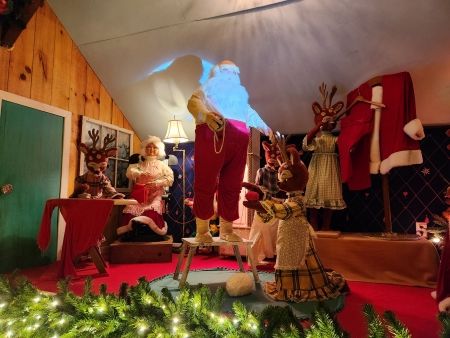
Santa Land formerly Millis Wonderland

Santa Land is the new home of the former Millis Wonderland display.
Santa Land
133 North "Pole" Ave
Mendon, MA
Santa Land Will be Opening for the 2024 Season on December 19th-21st, 2024 from 1pm to 8pm
Admittance is free but tickets must be reserved for entry. To reserve tickets, please visit the below link. If you have any questions, please email info@santaland.com. Thank you and we look forward to seeing you!
Click Here to Reserve Santa Land Tickets. https://www.eventbrite.com/e/1115637193879?aff=oddtdtcreator
Thank you and Merry Christmas!
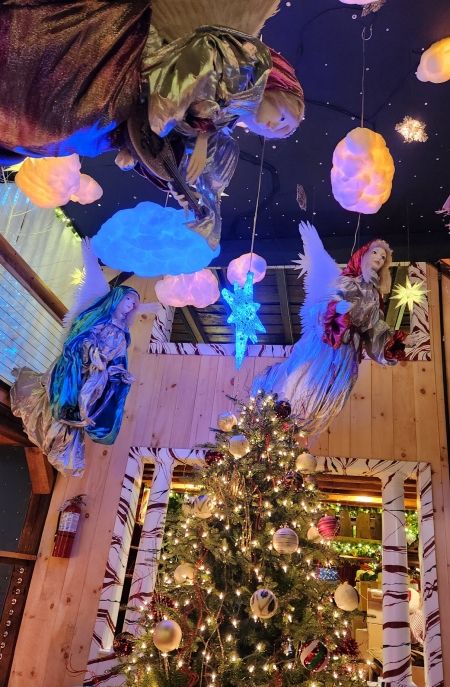
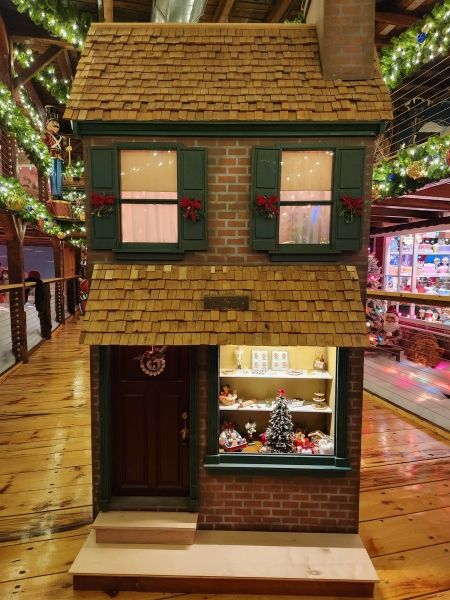
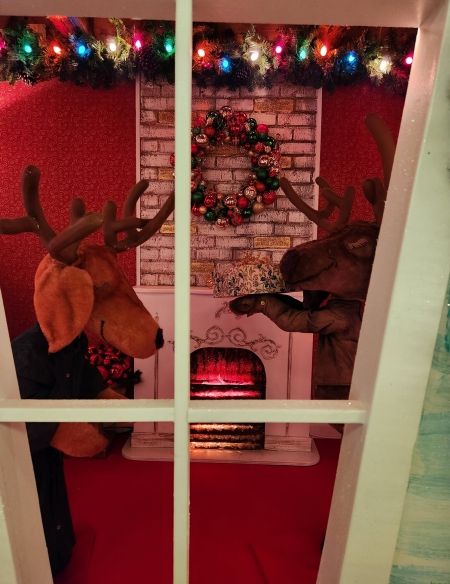
Our Gallery


<
>
 play video

